Displaying Users
Users are displayed in alphabetical order by Username in the User Manager. Full name (if present), number of jobs run, and date of most recent job are also displayed.
Displayed users may be filtered by Group (webmo, ...) and/or by Status (enabled, disabled, administrator) by selecting from the dropdown menu at the top and clicking the filter icon ( ).
).
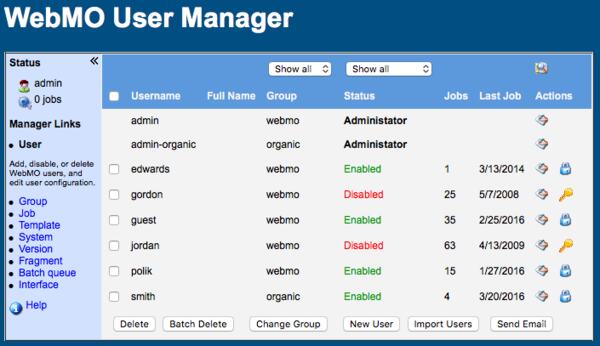
WebMO User Manager
Adding Users
A new WebMO user may be added by clicking the New User button in the User Manager. Username, Group, and Password are required on the Password tab. Full name and E-mail address are optional, and they may be specified on the Preferences tab. Resource limits, time limits, and allowed engines are typically inherited from the group settings, but they may be individually specified on the Permissions tab.
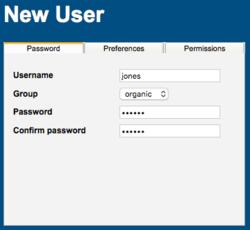 Password Tab |
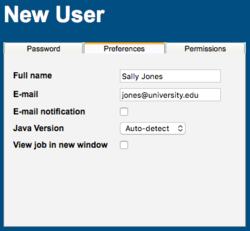 Preferences Tab |
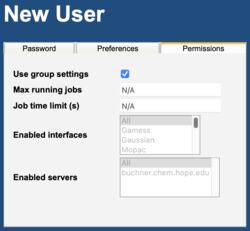 Permissions Tab |
Multiple WebMO users may be imported from a comma delimited file. This is very useful for importing classlists.
WebMO users may also be created by external authentication, e.g., by a college-wide LDAP server.
Note that WebMO users are maintained by the WebMO program and are distinct from system users on the underlying operating system.
Disabling/Enabling Users
WebMO users can be disabled (unable to login, but not deleted) by clicking the Lock icon ( ) next to the appropriate user. Although disabled users are not able to login, their jobs are still available in the administrator Job Manager.
Disabled WebMO users can be enabled by clicking the Key icon ( ).
).
Deleting Users
Check users to be deleted, and click the Delete button. A confirmation dialog will appear to confirm the deletion of the users and all their jobs. Note that these jobs are deleted from the file system and cannot be restored after the user is deleted.
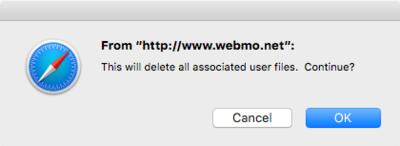
Delete User Confirmation Dialog
A list of users can be deleted by preparing a file with a list of usernames (one user per line) and clicking the Batch Delete button.
Editing a User
To edit the properties of a user, click the Edit icon ( ). When done, click the Submit button.
Password: A new password can be entered. Since they old password is not required by the administrator, this allows forgotten user passwords to be reset.
Preferences: Full name, Email address, Email notification, and View job in a new window/tab may be set for the user.
Permissions: Permissions are typically inherited from the group, but they may be specified on a user basis instead.
Max running jobs refers to the maximum number of simultaneous running jobs allowed for the user using the built-in WebMO queue, after which additional jobs will be queued (to control use of resources). Job time limit refers to the maximum amount of time in seconds that a single job may run, after which the job is automatically killed by WebMO (to prevent runaway jobs). In both cases, enter "N/A" or "-1" to specify no limit.
By default all configured engines are available; however, a subset of those can be specified by alt/command-clicking engines.
Note that permissions entered by a group-administrators which exceed those specified for the group by the WebMO admin user will not be honored.
Moving Users to a Different Group (Enterprise)
Groups are a useful way to organize large numbers of users. Users and jobs can be filtered by groups, permissions can be set differently for groups, and a group administrator can handle its users and jobs without impacting other groups or the system.
The default group is "webmo". New groups may be created and edited with the Group Manager.
Check users to be moved into a different group and click the Change Group button. Enter the name of an existing group and click OK.
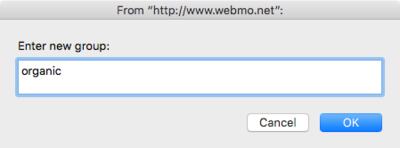
Change Group Dialog
Sending Email
Check users to receive an email, and click the Send Email button. Your local email client (as determined by your web browser) will be invoked with the email addresses of the selected users.